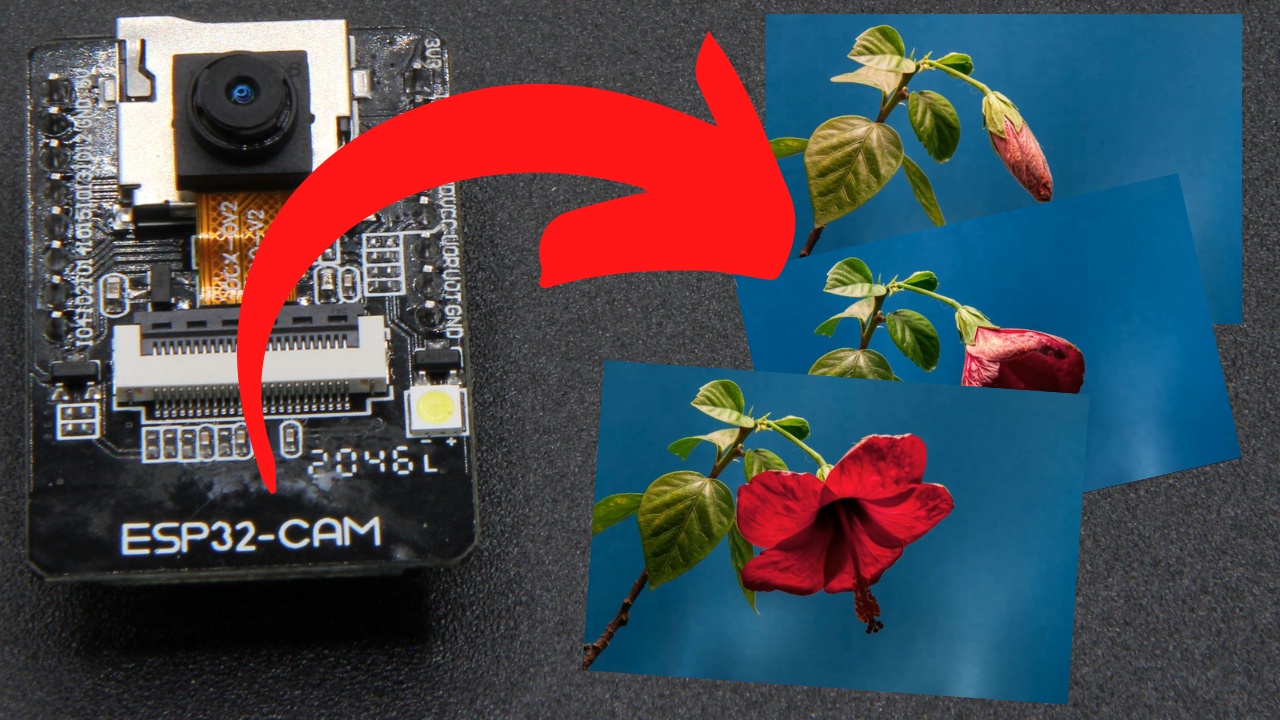
Here’s a quick tutorial on how to save a series of still images from the ESP32 CAM microcontroller module onto an SD card, sleeping the device between shots and remembering the frame number.
This video is especially useful if you want to make long duration timelapse movies. The easiest method of achieving this is by using the board’s electrically erasable programmable read-only memory (EEPROM) capability. The EEPROM memory is retained by the ESP32 after sleeping and even after restarts. The downside to using this technique is that the EEPROM has a limited lifespan of around 100,000 write operations.
I should just mention that the ESP32 EEPROM library has been deprecated. We should really be using the Preferences library with the ESP32 and ESP32 CAM. However, I just could not get the Preferences library to work on either of the ESP32 CAM modules I used.
You could also save the frame number to a text file on the board’s SD card, but I tried doing this and quickly found out it’s not as straightforward as I thought it would be.
Just bear in mind the code I’ve written will save a maximum of 255 images then the file numbering will reset back to 0. The solution to this would be either to save the image number as a 16 bit value, or to use the Preferences library I mentioned earlier.
As far as sleeping the ESP32 board goes, you need to call esp_sleep_enable_timer_wakeup passing in the number of microseconds to sleep for (there are one million microseconds in a second). Remember to call esp_deep_sleep_start after this, otherwise the ESP32 board won’t actually go to sleep!
If you wanted to make a home surveillance IoT device then you can also use external peripherals to wake the device up again.
If you want extra information about how to take photographs using the ESP32 CAM and saving them as images onto an SD card then this video might also be useful:
The ESP32 CAM module has an integrated Micro SD card slot. Personally I use 4 Gb cards with my camera modules, but apparently cards as large as 16 Gb work too.
To convert a sequence of still images into a timelapse movie you can use the free ShotCut video editor. It’s available for Windows, macOS and Linux.
If you have any other issues with the ESP32 CAM module then do please drop a comment below or on the Youtube comments page.
Source Code
The source code I used in the video is listed below. I would recommend opening the Arduino IDE and selecting Examples > ESP32 > Camera > CameraWebServer. Once this example opens, rename the file and save it again. Then delete all the content in CameraWebServer.ino and replace it with my code below. Don’t forget to comment out the line for your specific camera. Usually it’s the one called CAMERA_MODEL_AI_THINKER.
#include "esp_camera.h"
#include "SD_MMC.h"
#include "EEPROM.h"

#define EEPROM_SIZE_IN_BYTES 1

// Select camera model
//#define CAMERA_MODEL_WROVER_KIT // Has PSRAM
//#define CAMERA_MODEL_ESP_EYE // Has PSRAM
//#define CAMERA_MODEL_M5STACK_PSRAM // Has PSRAM
//#define CAMERA_MODEL_M5STACK_V2_PSRAM // M5Camera version B Has PSRAM
//#define CAMERA_MODEL_M5STACK_WIDE // Has PSRAM
//#define CAMERA_MODEL_M5STACK_ESP32CAM // No PSRAM
#define CAMERA_MODEL_AI_THINKER // Has PSRAM
//#define CAMERA_MODEL_TTGO_T_JOURNAL // No PSRAM

#include "camera_pins.h"
const char* photoPrefix = "/photo_";
int photoNumber = 0;

#define MICROSECONDS_IN_SECONDS 1000000
#define SLEEP_TIME_IN_SECONDS 120
unsigned long sleepTime = MICROSECONDS_IN_SECONDS * SLEEP_TIME_IN_SECONDS;

void setup() {
  Serial.begin(115200);
  //Serial.setDebugOutput(true);
  //Serial.println();

  Serial.println("ESP32 is waking up...");

  EEPROM.begin(EEPROM_SIZE_IN_BYTES);
  photoNumber = EEPROM.read(0);

  Serial.println("Next photo number loaded from preferences: " + String(photoNumber));

  camera_config_t config;
  config.ledc_channel = LEDC_CHANNEL_0;
  config.ledc_timer = LEDC_TIMER_0;
  config.pin_d0 = Y2_GPIO_NUM;
  config.pin_d1 = Y3_GPIO_NUM;
  config.pin_d2 = Y4_GPIO_NUM;
  config.pin_d3 = Y5_GPIO_NUM;
  config.pin_d4 = Y6_GPIO_NUM;
  config.pin_d5 = Y7_GPIO_NUM;
  config.pin_d6 = Y8_GPIO_NUM;
  config.pin_d7 = Y9_GPIO_NUM;
  config.pin_xclk = XCLK_GPIO_NUM;
  config.pin_pclk = PCLK_GPIO_NUM;
  config.pin_vsync = VSYNC_GPIO_NUM;
  config.pin_href = HREF_GPIO_NUM;
  config.pin_sscb_sda = SIOD_GPIO_NUM;
  config.pin_sscb_scl = SIOC_GPIO_NUM;
  config.pin_pwdn = PWDN_GPIO_NUM;
  config.pin_reset = RESET_GPIO_NUM;
  config.xclk_freq_hz = 20000000;
  config.pixel_format = PIXFORMAT_JPEG;

  // if PSRAM IC present, init with UXGA resolution and higher JPEG quality
  //                      for larger pre-allocated frame buffer.
  if(psramFound()){
    config.frame_size = FRAMESIZE_UXGA;
    config.jpeg_quality = 10;
    config.fb_count = 2;
  } else {
    config.frame_size = FRAMESIZE_SVGA;
    config.jpeg_quality = 12;
    config.fb_count = 1;
  }

  #if defined(CAMERA_MODEL_ESP_EYE)
    pinMode(13, INPUT_PULLUP);
    pinMode(14, INPUT_PULLUP);
  #endif

  // camera init
  esp_err_t err = esp_camera_init(&config);
  if (err != ESP_OK) {
    Serial.printf("Camera init failed with error 0x%x", err);
    return;
  }

  sensor_t * s = esp_camera_sensor_get();
  // initial sensors are flipped vertically and colors are a bit saturated
  if (s->id.PID == OV3660_PID) {
    s->set_vflip(s, 1); // flip it back
    s->set_brightness(s, 1); // up the brightness just a bit
    s->set_saturation(s, -2); // lower the saturation
  }

  //Fine tuning of image if required
  s->set_brightness(s, -1); //-2 to 2
  //s->set_contrast(s, 1); //-2 to 2
  //s->set_saturation(s, 1); //-2 to 2
  //s->set_wb_mode(s, 0); //0 to 4
  //s->set_special_effect(s, 0); //Tints 0: none, 1: negative, 2: greyscale, 3:red, 4:green, 5: blue, 6:sepia
  //s->set_colorbar(s, 1); //1 or 0

  // drop down frame size for higher initial frame rate
  //s->set_framesize(s, FRAMESIZE_QVGA);
  s->set_framesize(s, FRAMESIZE_XGA);
  //s->set_framesize(s, FRAMESIZE_HD);

  #if defined(CAMERA_MODEL_M5STACK_WIDE) || defined(CAMERA_MODEL_M5STACK_ESP32CAM)
    s->set_vflip(s, 1);
    s->set_hmirror(s, 1);
  #endif

  Serial.println("Initialising SD card");
  if(!SD_MMC.begin()){
    Serial.println("Failed to initialise SD card!");
    return;
  }

  uint8_t cardType = SD_MMC.cardType();
  if(cardType == CARD_NONE){
    Serial.println("SD card slot appears to be empty!");
    return;
  }

  //If the SD card is empty then reset the EEPROM file counter back to 0
  ResetPhotoNumbering();

  //The first picture is taken but not saved, because it usually has a green tint
  TakePhoto(false);

  //The second picture is taken and then saved to the SD card
  TakePhoto(true);

  Serial.println("Going to sleep for " + String(sleepTime) + " microseconds...");
  Serial.flush();

  //Set the time interval the ESP32 should sleep for
  esp_sleep_enable_timer_wakeup(sleepTime);

  //Send the ESP32 into deep sleep
  esp_deep_sleep_start();

}

void loop() {
  //Loop code not required for this example
}

void TakePhoto(bool savePhoto) {

  camera_fb_t * fb = NULL;

  // Take Picture with Camera
  fb = esp_camera_fb_get();
  if(!fb) {
    Serial.println("Camera capture failed");
    return;
  }

  if (!savePhoto) {return;}

  String photoFileName = photoPrefix + String(photoNumber) + ".jpg";

  fs::FS &fs = SD_MMC;
  Serial.printf("Picture file name: %s\n", photoFileName.c_str());

  File file = fs.open(photoFileName.c_str(), FILE_WRITE);
  if(!file){
    Serial.println("Failed to open file in writing mode");
  }
  else {
    file.write(fb->buf, fb->len); // payload (image), payload length
    Serial.println("Saved file to path: " + String(photoFileName));
    ++photoNumber;
    if (photoNumber > 255) { photoNumber = 0; }

    EEPROM.write(0, photoNumber);
    EEPROM.commit();
    Serial.println("Next photo number saved to preferences: " + String(photoNumber));
  }
  file.close();
  esp_camera_fb_return(fb);
}

void ResetPhotoNumbering() {

  fs::FS &fs = SD_MMC;
  File sdCardRoot = fs.open("/");

  if(!sdCardRoot){
    Serial.println("Failed to open SD card root folder!");
    return;
  }

  if(!sdCardRoot.isDirectory()){
    Serial.println("SD card root folder cannot be read!");
    return;
  }

  File file = sdCardRoot.openNextFile();
  if (file.available() > 0) {
    Serial.println("SD card is not empty");
  } else {
    Serial.println("SD card is empty");
    photoNumber = 0;
    EEPROM.write(0, photoNumber);
    EEPROM.commit();
    Serial.println("Next photo number reset to 0");
  }

}
Comments
2 responses to “ESP32 CAM For Long Duration Time Lapse Photography”
Hi!
I really like your work and I wanted to try this code myself.
Unfortunately, when I follow the steps you have described above, I encounter an error with the SD card.
It keeps returning: “Failed to initialise SD card!”
I have tried to debug it on the SD card side, e.g. format it FAT or FAT32 and I also looked into the code, but there does not seem to be much to change.
Did you also encounter this error?
I am not sure why and what is happening? In the video it seems to go alright?
Thank you 🙂
Hi – I didn’t have too many problems with the ESP32 CAM when I was using the earlier version of the ESP32 libraries. However I’ve had many problems with the ESP32 version 2 (current) libraries. I’ll try and get everything working again then make some more videos.
SD cards seem to work out of the box though – I didn’t need to format them before use.