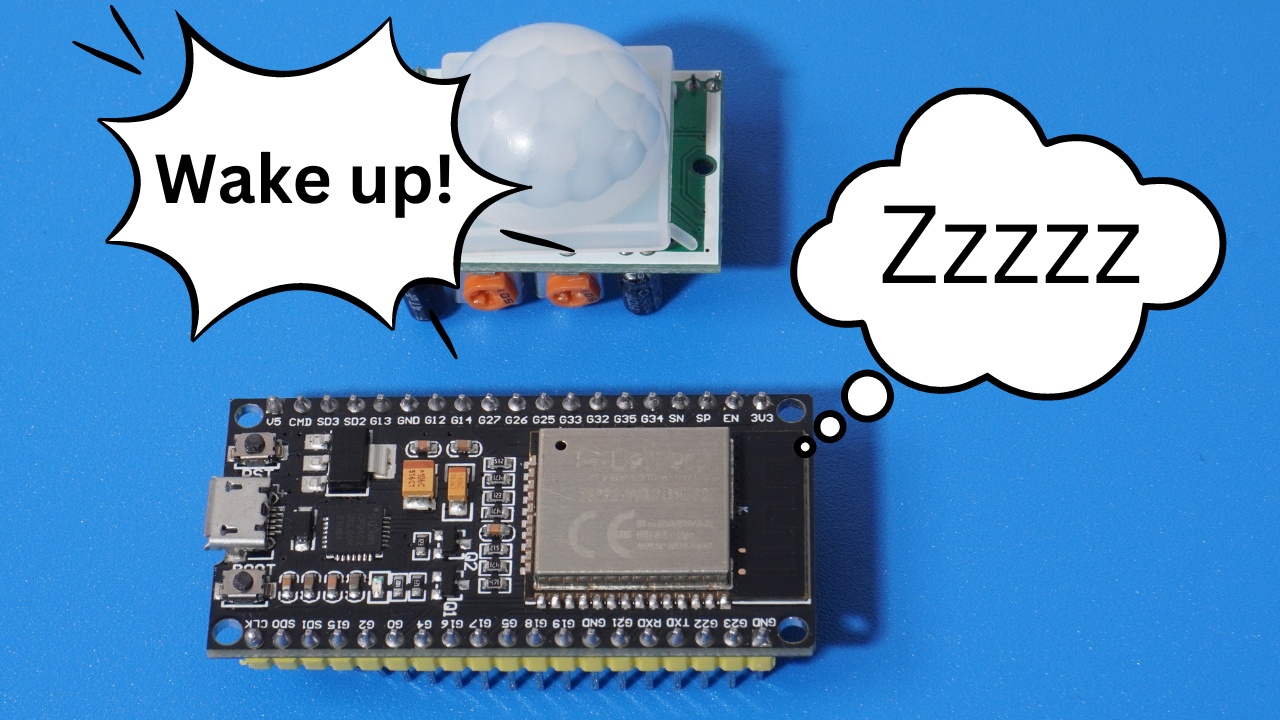
Here’s how to sleep the ESP32 microcontroller then wake it up using a sensor. In this tutorial I’ve used the PIR infra red sensor, which is a commonly used motion sensor. It’s perfect for making a home security system.
The source code is further down this page.
Later in the video I run through some troubleshooting of the PIR sensor, because they can be quite difficult to configure and test. An additional complication is there are a few different versions of the sensor available.
To wake up the ESP32 using a sensor you must connect the sensor to an RTC pin. The ESP32 has a lot of these – this pinout diagram is really useful for choosing which one to use.
The esp_sleep_enable_ext0_wakeup(pin, level) function is called which configures which pin the ESP32 should monitor while sleeping. Calling esp_deep_sleep_start() with no arguments will sleep the ESP32. Prefixing a variable with RTC_DATA_ATTR will store it in a part of memory that will be preserved even while the device is powered off or sleeping. This allows us to keep track of how many times the ESP32 has been woken up.
I’ve also used an LED mini traffic light module. I really like these as they’re easy to use and can be very useful in monitoring a device that’s not connected to a computer. Here’s a tutorial for connecting these to an ESP32:
PIR Sensor Source Code (with LED)
//ESP32 sleep and wake up using PIR sensor
//A mini traffic light LED plugs into ESP32 pins 21, 22, 23 and GND
//Pins also referred to as GPIO21, GPIO22, GPIO23
//The motion sensor's data connector is using pin 32

#define GREEN_LED  21
#define YELLOW_LED  22
#define RED_LED  23
#define MOTION_SENSOR 32 //Must be a RTC GPIO

RTC_DATA_ATTR int wakeupCounter = 0; //Counter used to configure the device the first time it is switched on

void setup() {

  pinMode(MOTION_SENSOR, INPUT);
  pinMode(RED_LED, OUTPUT);
  pinMode(YELLOW_LED, OUTPUT);
  pinMode(GREEN_LED, OUTPUT);
  ++wakeupCounter; //Increment wakeupCounter

  Serial.begin(115200);
  delay(1000); //Give serial port time to initialise

  Serial.print("Wakeup counter = ");
  Serial.println(wakeupCounter);

  if (wakeupCounter > 1) {
    Serial.println("ESP32 has been woken up!");
    triggerAlert();
  } else {
    sleepDevice();
  }

}

void loop() {
  //Loop not required in this example
}

void triggerAlert() {
  Serial.println("Motion detected - call the police!");

  for (int16_t x=0; x < 5; ++x) {
    digitalWrite(RED_LED,HIGH);
    delay(500);
    digitalWrite(RED_LED,LOW);
    delay(500);
  }

  Serial.println("Going back to sleep...");
  sleepDevice();

}

void sleepDevice() {

  for (int16_t x=0; x < 5; ++x) {
    digitalWrite(YELLOW_LED,HIGH);
    delay(250);
    digitalWrite(YELLOW_LED,LOW);
    delay(250);
  }

    Serial.println("ESP32 is now sleeping!");
    esp_sleep_enable_ext0_wakeup(GPIO_NUM_32, HIGH);
    esp_deep_sleep_start();
}
PIR Sensor Source Code (without LED)
//ESP32 sleep and wake up using PIR sensor
//The motion sensor's data connector is using pin 32

#define MOTION_SENSOR 32 //Must be a RTC GPIO

RTC_DATA_ATTR int wakeupCounter = 0; //Counter used to configure the device the first time it is switched on

void setup() {

  pinMode(MOTION_SENSOR, INPUT);
  ++wakeupCounter; //Increment wakeupCounter

  Serial.begin(115200);
  delay(1000); //Give serial port time to initialise

  Serial.print("Wakeup counter = ");
  Serial.println(wakeupCounter);

  if (wakeupCounter > 1) {
    Serial.println("ESP32 has been woken up!");
    triggerAlert();
  } else {
    sleepDevice();
  }

}

void loop() {
  //Loop not required in this example
}

void triggerAlert() {
  Serial.println("Motion detected - call the police!");
  Serial.println("Going back to sleep...");
  sleepDevice();
}

void sleepDevice() {
    Serial.println("ESP32 is now sleeping!");
    esp_sleep_enable_ext0_wakeup(GPIO_NUM_32, HIGH);
    esp_deep_sleep_start();
}
If you have any questions or suggestions about this tutorial then leave a comment below or in the comments section of the YouTube tutorial itself.